Git how to add a comment and quit VIM

This happens to me from time to time. When you are trying to merge with some local branch and there are some conflicts you want to fix on the fly then this terminal asks you to add a comment so you do and you don’t know how to exit….

Terrifying stuff I know so here is how you close that VIM terminal. After adding your comment and looking lost enter this below:

:wp

For definitions and more detail check out this source

How to delete a branch locally

This is just a personal post on something ,I keep forgetting how to do.
So i am putting it where I know where to find it.

git branch -d <branch name>

For more information you can checkout the source

Optimising images

My previous post I got carried away and I wrote a novel about keypresses.

Anyway, I’ll continue to keep these posts short and helpful. I do apologise if i get carried away about a point.

Ok so you want to optimise your images and quick. Go to this site and download the PNGGuantlet for your OS of choice.

Chuck your images in and watch them go down to size whilst keeping most of its quality.

wait for the green bars to finish then check the kb sizes of your images again.

The way how i came across this app was by a client. A very senior full stack developer I had to do a piece of work for him finding some assets and look it took me a while and i got lazy and just grabbed the first few.

The images I found were different sizes (i.e. 525px X 525, 1025 X 1025 and so on). I was requested to optimise the images and reduce their size. I know how to reduce their size but not optimise them.. So my code did not pass his review and he shared with me this link and told me the steps to use it and why its good. So ya have fun optimising images with PNGGauntlet

<Update>
There are loads of image optimising applications. I made it sound like this was the only one it seems, so ya there are plenty I was just recommended this one.

JavaScript Keypresses keyup keydown keypress

As Always I try to make my blog cater for peeps that are just looking for concise answers, so if you scroll down there is a TL DR section below. If you are curious of my thoughts then keep reading.

My knowledge of keypresses consisted of the brief summary of “you press a key and you can make something happen”. Turns out there is a bit more to it.

Keypresses have three different trigger points. I’m going to put my naive understanding of them first, then what MDN says cause that is the best source of truth out there in my opinion. I also used StackOverflow.

First you have keydown

My understanding of a Keydown is the action of when the button is pressed, so as the key is pressed down you can set an action or trigger something from that point.

Unlike the keypress event, the keydown event is fired for all keys, regardless of whether they produce a character value.

from MDN

To sum keydown: Keydown will trigger for all keys pressed(odd ones being ctrl, shift. delete..etc). If you press any key thats a keydown.

Second you have keyup

My understanding of a key up is the “release” action of the keydown action. So you can set an action upon lifting your key from a pressed state.

The keydown and keyup events provide a code indicating which key is pressed, while keypress indicates which character was entered. For example, a lowercase “a” will be reported as 65 by keydown and keyup, but as 97 by keypress. An uppercase “A” is reported as 65 by all events.

from MDN

To sum up keyup:. It trigger upon the release of a pressed key. Don’t worry MDN can be intimidating at times. It took me a while, but they are saying a keyup will trigger with a value of what key was pressed. Also, I think MDN has already moved on tooo..

Thirdly the keypress

My understanding: Keypress is the full action of just typing a key. so hit a key and let go and you have yourself a keypress buddy.

The keypress event is fired when a key that produces a character value is pressed down. Examples of keys that produce a character value are alphabetic, numeric, and punctuation keys. Examples of keys that don’t produce a character value are modifier keys such as Alt
, Shift
, Ctrl
, or Meta

From MDN

Ok, so my understanding of a keypress was a bit off. It appears to be including all chars that set a value and not other keys like shift, control, alt…etc that don’t produce a character. According to MDN it appears that the keypress is deprecated so you would just need to be aware of that when using keypress.

I never in my life thought that someone could complicate a key press, but here we are 2020 virus is out. Try to stay inside guys ok.

TL DR

The onKeyDown event is triggered when the user presses a key.
The onKeyUp event is triggered when the user releases a key.
The onKeyPress event is triggered when the user presses & releases a key (onKeyDown followed by onKeyUp).

from stackoverflow

In my defence I’m not as technical as MDN, my theory was around more towards what the stackoverflow post said.

I’ll leave you with that guys I really hope that this helps you out and helps you know that there is a bit more to a keypress than meets the eye.

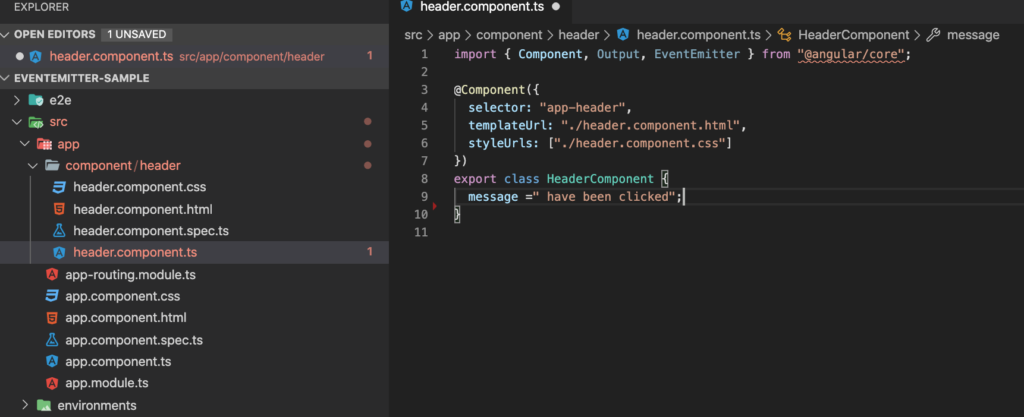
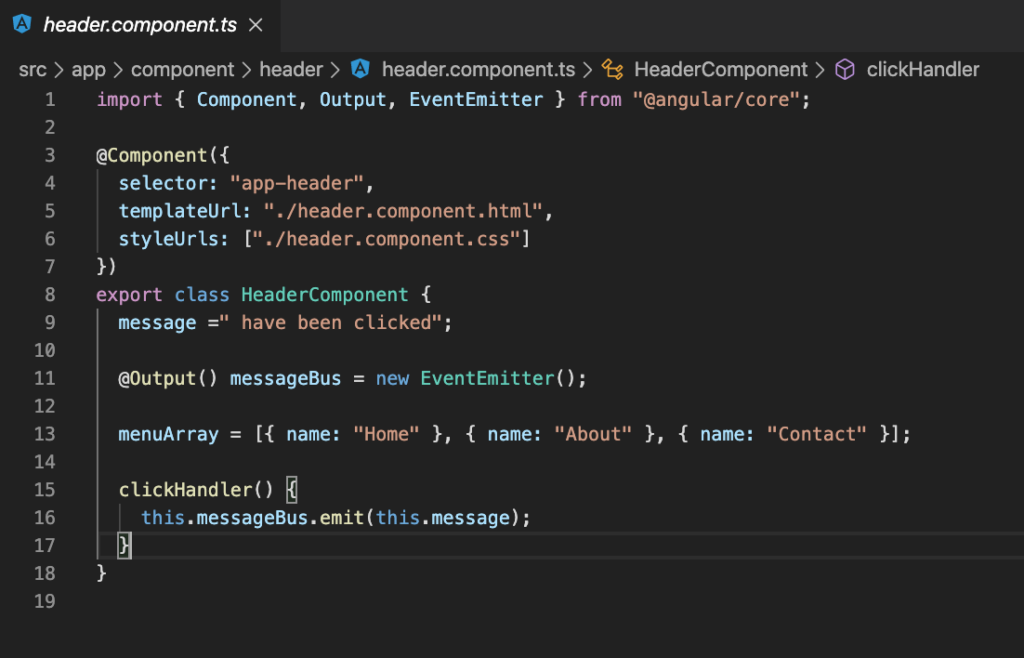
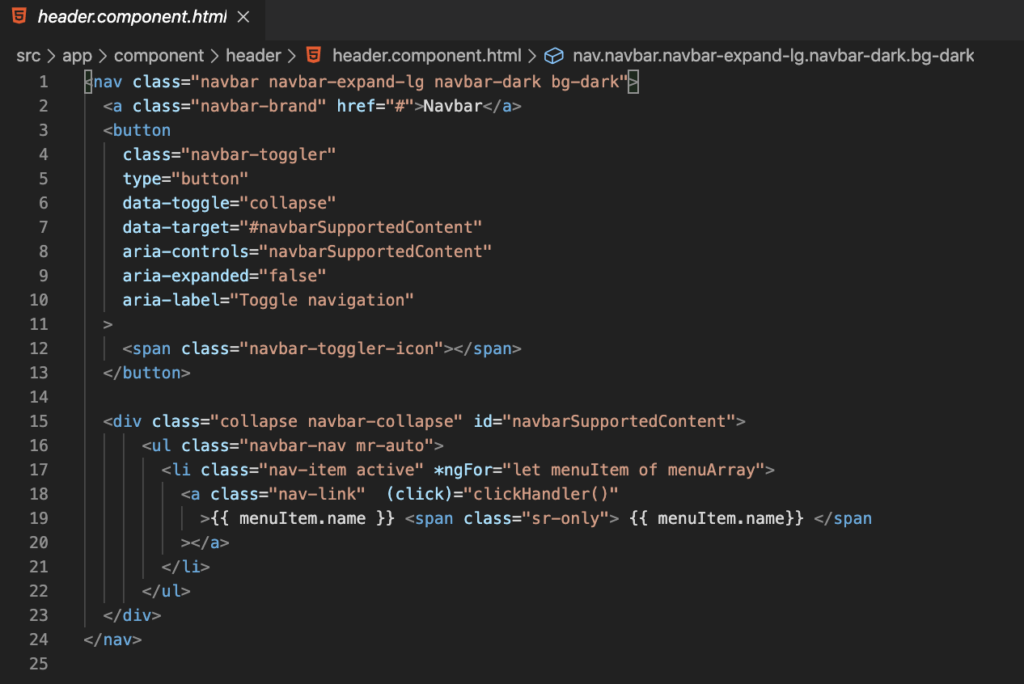
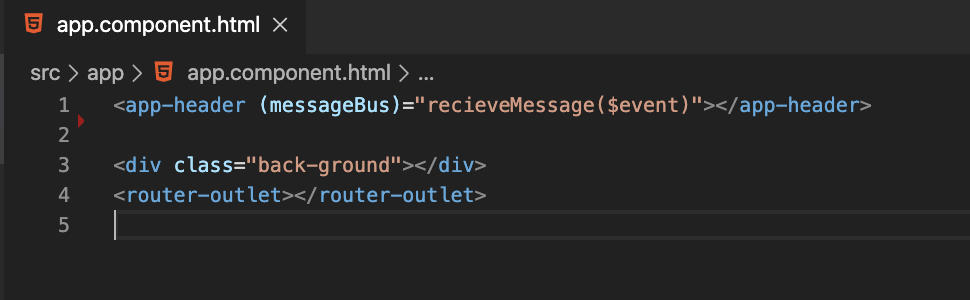
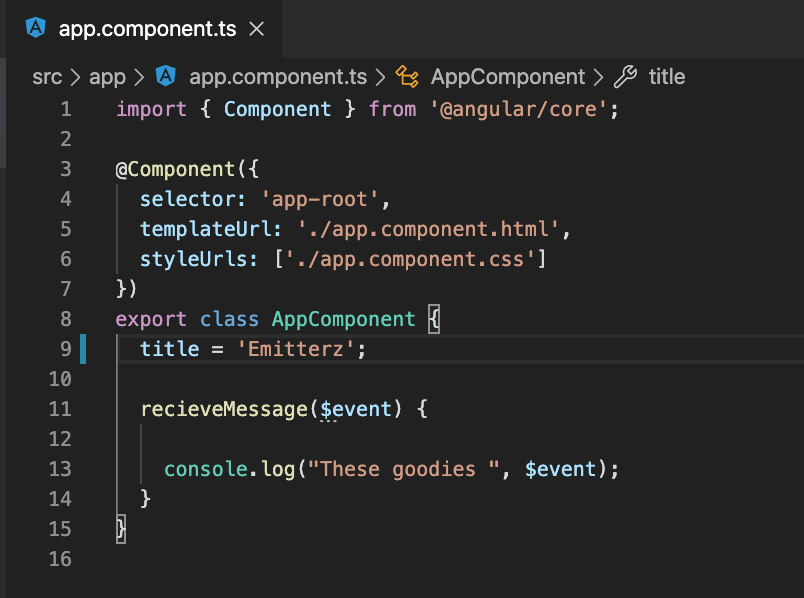
On a side note. I got some positive comments on my previous post. Thanks so much for the support I’ll continue posting my findings and sharing the knowledge to help myself and others. I was so chuffed in fact i made a live sample of some javaScript and keypresses right here enjoy.

[Sample] Angular hitting API with Service

If you want the sample main steps scroll to the “TO THE POINT” part of this article thanks. If you all good keep reading.

So this lock out isolation thing has been quite challenging for everyone and I feel your pain. I was working on an angular portfolio…but its been mainly css when trying to cater for mobile view and tablet view…so I want to take a break from the css and get into interacting with an API

If you don’t know what an API is…this wont cover the fundamentals sadly, it’ll be a working example of an api request. As for now we are Focusing on Angular working with APIs using services.

There are many free open API sites the one i came across apifootball.com where upon registering they’ll provide you with an API key (you’ll need to keep this safe and secure) From my experience most of the free apis require a registration.

We have an api and an api key, now you want to check and see if we can make a call of some sort and log a response. A great API tool is postman. Basically setup the API call to your liking and it allows you to see and track the response and what not, look its great.

ok so that is the long of it. Now i’m going to try to keep it as short as possible. Yes that does say “overal_league_payed” learned that the hard way.

TO THE POINT HOW TO SETUP TO HIT AN API

Using the angular cli we can just enter the following command in the terminal

// short hand
ng g s serviceName
// full on
ng generate service serviceName

The command will generate a service for you in your solution. Basic boiler plate.

Right now you know your API is working. Let’s make that service in our angular app give that API a call and see if we can get their response.

We need RXJS thats right that beast that does magic with Observables (high level comparison of observables vs promises.).

npm i rxjs

Make sure that you are using HttpClient for the http calls.
I normally use the below structure for api calls. Adding variable for base urls and other things that are constant like my apiKey this is just personal preference.

I was advised that when it comes to services, make sure they only deliver the data keep that part clean. Now moving along to the app.component we’ll need to create a function that hits that service and the getLeagueStand and subscribe to the response and then extract the data you want. Make sure you return the url.

And ALSO do not forget to import your service and the httpClient module to your app.module file like so…I can’t believe I forgot to add this guy.


As you can see in the code above we subscribing to the data and then setting out its values to variables. Here is a repo to a working sample. You’ll need to add your own apikey though.

How OAuth 2.0 and OpenID connect work

I was shared this video for a tech discussions and I have learned so much from this man. I wanted to add some personal notes below but its actually a fair amount to digest. Enjoy the video and get ready for the flow of knowledge coming your way.

Understanding EventEmitters [for newbies]

I was trying to figure out how to use eventEmitters, be cause I forgot and I had no clue how to use them anymore. Then I came across this amazing video that shows you how its done.

this guy knows his stuff.

If you don’t want to watch the video or don’t have access to speakers, saving data… whatever, you can just follow along with me and my ways of explaining things to help me understand myself.

So I just want to explain it the best way i can understand it…so this won’t be textbook but it’ll probably just makes sense to me..ok enough disclaimers lets go.

Firstly you want to have an eventEmitter sample you can just go and clone this fella.

git clone https://github.com/tony2tones/eventEmitter-sample.git

There, now you have a project that has some eventEmitter action going down. It’s simple and it is a console log, but it’s the foundation to where we can start to understand whats happening.

Off the bat we can see that we will have a parent and child components to work with.

<app-component></app-component>
<header-component></header-component>

Let’s Navigate to the header component.

Now import Output, EventEmitter and a message to emit.

Maybe i’m going a bit slow, but it’ll pick up quickly i promise.

Now we can use those imports with making a new EventEmitter variable. This is very exciting and for the sake of speed you also added a function that emits the message…Oh also forgot an array of menu options.

Sweet, so we have made an emitterable variable called ‘messageBus’ which will “carry” the message string and emit it world wide.(within the boundaries of your angular project)

So we head on over to our Header view(html) and add the clickHandler function.

So thats officially in our header component…the parent component still doesn’t know anything about it just yet. There is one more step… ok there isn’t but we are close.

So how to we make it available? well you put it over here.

So we linkup that emitter variable called ‘messageBus’ to a function that can be found in our parent component.

Run that, check your console click on the nav and you’ll see the console responding with your emitted message all the way from the child component.

Generate new Angular project in specific directory

*solution I came across is at the bottom of the post. If you want to read about my experience then just keep on reading*.

I normally come across this issue when i haven’t created a new angular project in a while. Making the directory of such project before building the project using the Angular CLI. So you have made a file called ‘this-is-where-my-project-will-live’. When you say

ng new MYAMAZINGNEWAPPTHATIVEALWAYSWANTEDTOMAKE 

You will find that a new file has been generated and it’ll be looking something like this or you would need to drill down further into your file to get to the project itself.

So you think to yourself well, i might as well just cut and paste the entire project and….well forget that, here is an easier way.

To set where you want your project to be build use this little code snippet.

SOLUTION:

ng new MYAMAZINGNEWAPPTHATIVEALWAYSWANTEDTOMAKE --directory ./this-is-where-my-project-will-live

This will build your solution exactly into the specified directory, here is the sauce. The project will still have the same name, but will be located in folder that you have specified in the cmd.

hope that this helps you guys out

How do I add a Fancy github ribbon, this is the fastest way I know

If you want the story version you can continue reading, if you want to solution i found then skip to the bottom of the page. đŸ˜‰

I was recently updating my rock paper scissors game to work on mobile sized screens.

The mobile screen adjustments took me some time, because I learned only after i finishing my css, making all my styles for desktop use only. I found out that most people will browse this link via their mobile phones and so my beta was a disaster in mobile views… but i digress.

Anthony Marques 2019

Aaaand when I was done, I was very proud of the results. I even figured lets make this public, so i shared my work of art on Reddit waiting for the likes to come rolling in.

BUT i got flagged for showing off by the mods…which they were more or less correct. I wanted to show the world what i have done, but then they insisted of the following rules:

Only one thing came into mind, i need to add a fork me on github ribbon, it sounded like a sure fire way for my rps game to be accepted by the JavaScript sub. I needed to know how to do this.

Then i came across this little site. This was basically the answer to what I was looking for. I did try to find other ways of implementing it, but i needed a quick solution

<a href="">
<img style="position: absolute; top: 0; right: 0; border: 0;" src="https://s3.amazonaws.com/github/ribbons/forkme_right_darkblue_121621.png" alt="Fork me on GitHub">
</a>

Just update that href with your github site and you are good to go, enjoy forking and sharing.

Here is the end result!

rps game mobile view

Here is a link to the ROCK PAPER SCISSORS game i made your avator which is me takes on real damage. feel free to take a looky

Ngx-datatables conditional rendering of columns

Hi, I trust that you have enjoyed the read on how to get setup with your ngx-datatables, if not checkout my previous post right here.

You have your ngx-datatable all set and you want to show a cool icon if there is a boolean value. Luckily we have such data in one of our columns.

note that the working data is a boolean

So when looking at the current solution and the HTML (or view as the pros like to call it) you would think that to add conditional rendering logic to a single column, one would need to add the following.

Well I was wrong. The code is correct but, this will not render the entire table as you can see below.

The point that I wanted to make is that you will need to add details now for every column, so if there are a 100 columns you would need to add 100 of them. I also did some conditional rendering with text. HOWEVER, please use boolean values, just wanted to show you that it is possible, but not recommended. Any text change or updates….cases will not make the conditions work.

the final code

You will need to add column details for every column if you want to use conditional rendering. The end result should look a little something like this.

very sexy I know.

So thats how one would do conditional rendering, using *ngIf logic using the row value boolean variable to dictate what to render.

I have added this to my github account under the ngx-datatable-conditional-rendering branch.

git clone https://github.com/tony2tones/ngx-table.git