
If you have read my first post covering @inputs then be sure to give that a quick read before continuing.
In the previous post we have covered all our inputs and you might be thinking what about @outputs, well lets make one. When you have an @output it would emit a value up to the parent component, I believe there are many ways to do this, but all I’m trying to say is that @output requires at least an emmitter. As seen in the card.profle component. (picture below).
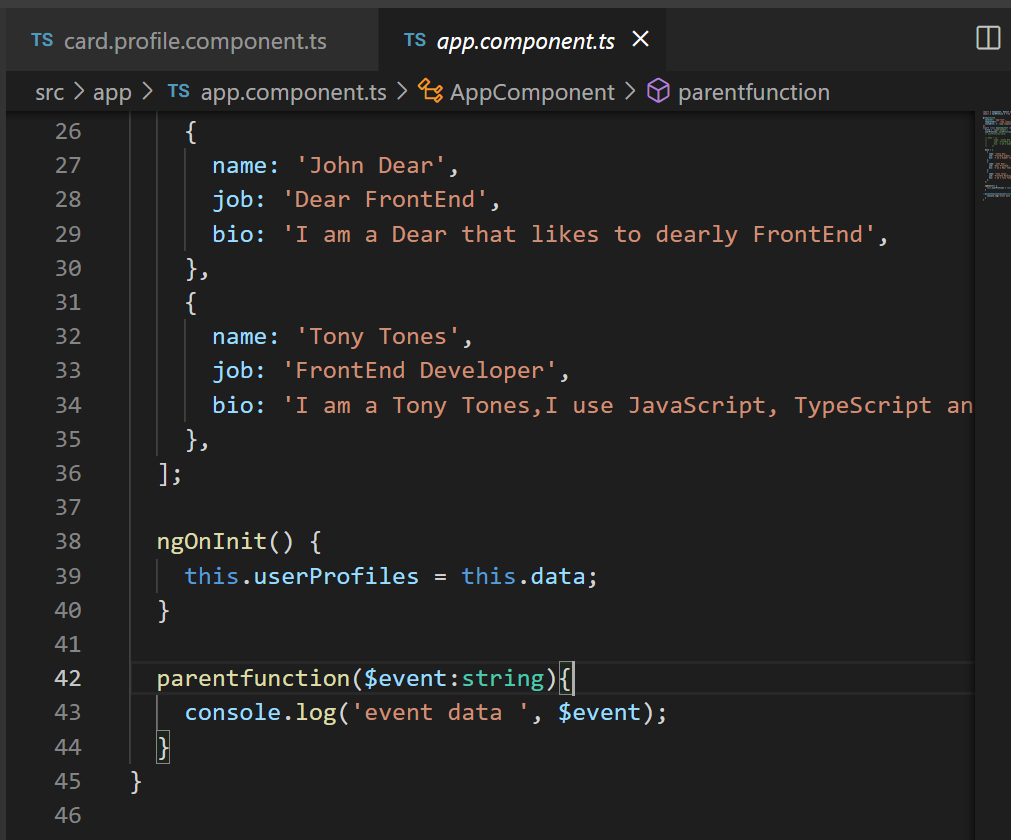
Update the following code in the app.component.ts file:
  data = [
    {
      name: 'Jonny Doe',
      job: 'FrontEnd Gopher',
      bio: 'I am a Gopher that likes to FrontEnd Gophe',
    },
    {
      name: 'John Dear',
      job: 'Dear FrontEnd',
      bio: 'I am a Dear that likes to dearly FrontEnd',
    },
    {
      name: 'Tony Tones',
      job: 'FrontEnd Developer',
      bio: 'I am a Tony Tones,I use JavaScript, TypeScript and Angular Framework',
    },
  ];

  ngOnInit() {
    this.userProfiles = this.data;
  }
Refresh and you should have 3 loverly gophers staring at you.
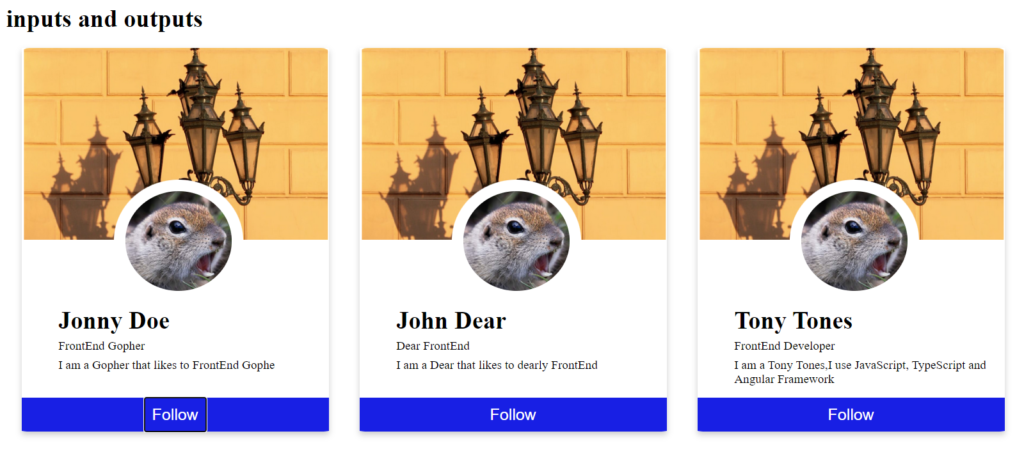
In this example we will link the follow button to emit the username of the profile selected to the parent component. This exercise we will use the eventmitter to help us emit the profile name selected to the parent component.
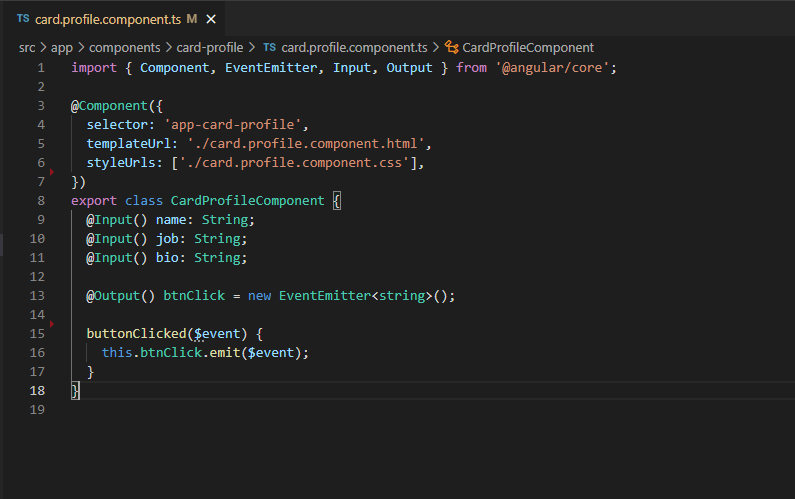
Line 13 we have our @output named btnClick connected to our new eventEmitter of type string (for our name variable).
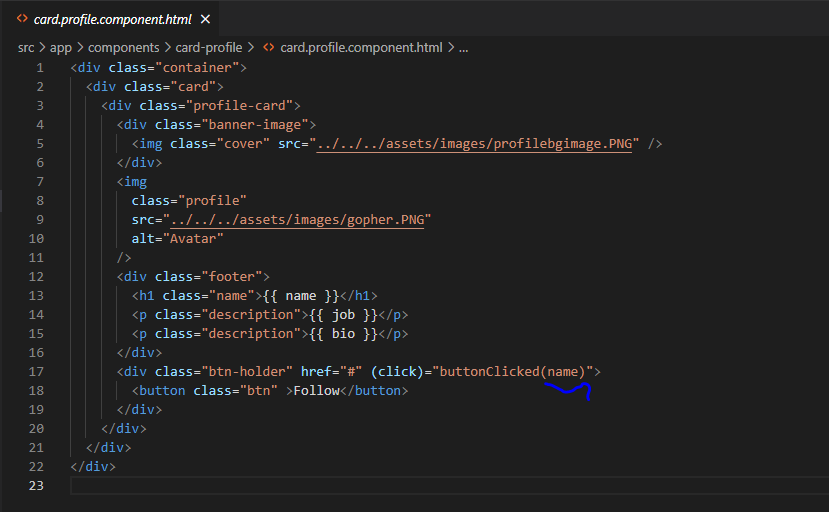
We use the buttonClicked() function and pass the variable name in the buttonClick(name), which we have declared in our cardprofile component and the next step is to link it on the app.component.html and you can see the emitter btnClick.
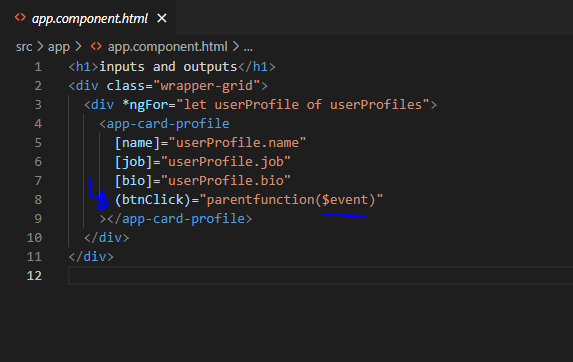
And finally to add the function in the app component
Now spin up the project and open the dev tools and click on one of the profiles.
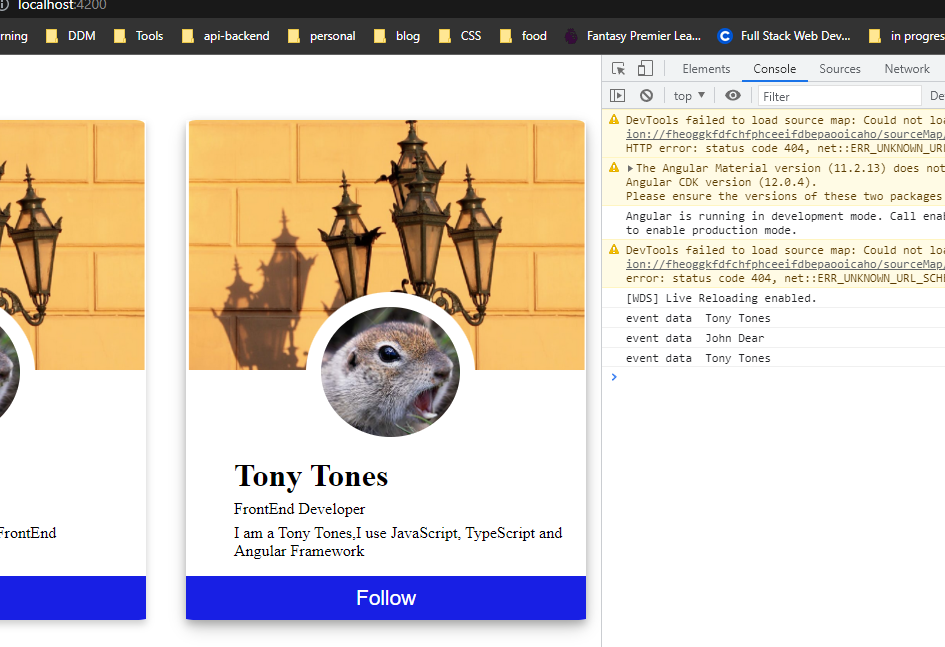
Here we are console logging the profile username to the parent component and thats about it.
Feel free to fork my github, here is the source code.