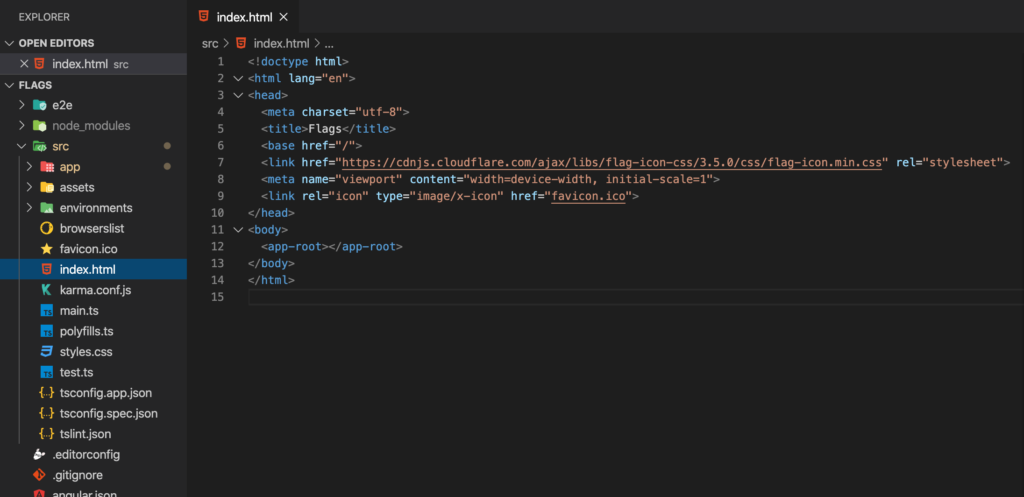
// Lists country flags
<div *ngFor="let country of countries">
      <ul>
        <li class="item">
          <a class="flag-icon flag-icon-{{ country.code }}"></a>
          {{ country.name }}
        </li>
      </ul>
    </div>
// Hardcode flag
<div>
 <a class="flag-icon flag-icon-za></a>
</div>
The above sample code will list some flags that have been populated by the countries array. Here is a countries array I made you can use to get started.
This happens to me from time to time. When you are trying to merge with some local branch and there are some conflicts you want to fix on the fly then this terminal asks you to add a comment so you do and you don’t know how to exit….
Terrifying stuff I know so here is how you close that VIM terminal. After adding your comment and looking lost enter this below:
:wp
For definitions and more detail check out this source
My previous post I got carried away and I wrote a novel about keypresses.
Anyway, I’ll continue to keep these posts short and helpful. I do apologise if i get carried away about a point.
Ok so you want to optimise your images and quick. Go to this site and download the PNGGuantlet for your OS of choice.
Chuck your images in and watch them go down to size whilst keeping most of its quality.
wait for the green bars to finish then check the kb sizes of your images again.
The way how i came across this app was by a client. A very senior full stack developer I had to do a piece of work for him finding some assets and look it took me a while and i got lazy and just grabbed the first few.
The images I found were different sizes (i.e. 525px X 525, 1025 X 1025 and so on). I was requested to optimise the images and reduce their size. I know how to reduce their size but not optimise them.. So my code did not pass his review and he shared with me this link and told me the steps to use it and why its good. So ya have fun optimising images with PNGGauntlet
<Update> There are loads of image optimising applications. I made it sound like this was the only one it seems, so ya there are plenty I was just recommended this one.
I was trying to figure out how to use eventEmitters, be cause I forgot and I had no clue how to use them anymore. Then I came across this amazing video that shows you how its done.
this guy knows his stuff.
If you don’t want to watch the video or don’t have access to speakers, saving data… whatever, you can just follow along with me and my ways of explaining things to help me understand myself.
So I just want to explain it the best way i can understand it…so this won’t be textbook but it’ll probably just makes sense to me..ok enough disclaimers lets go.
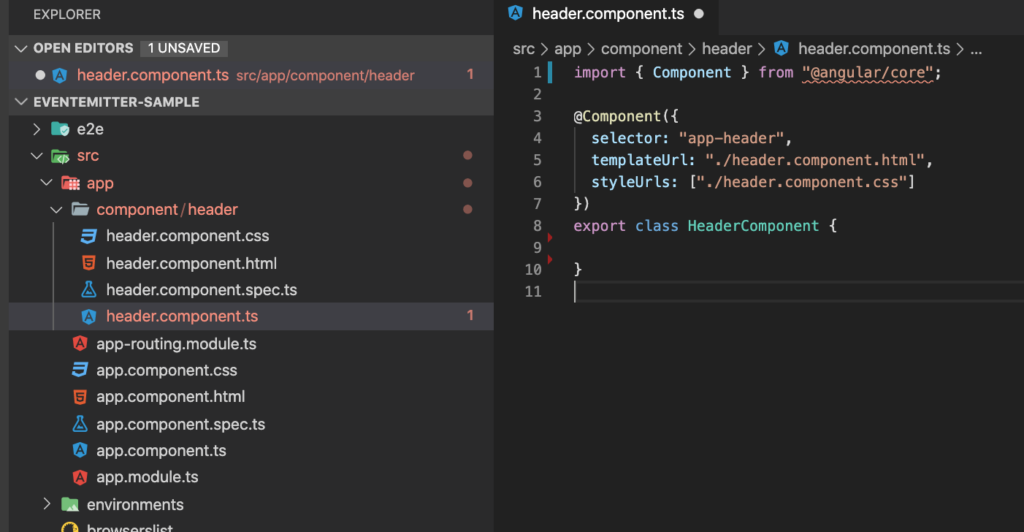
Firstly you want to have an eventEmitter sample you can just go and clone this fella.
There, now you have a project that has some eventEmitter action going down. It’s simple and it is a console log, but it’s the foundation to where we can start to understand whats happening.
Off the bat we can see that we will have a parent and child components to work with.
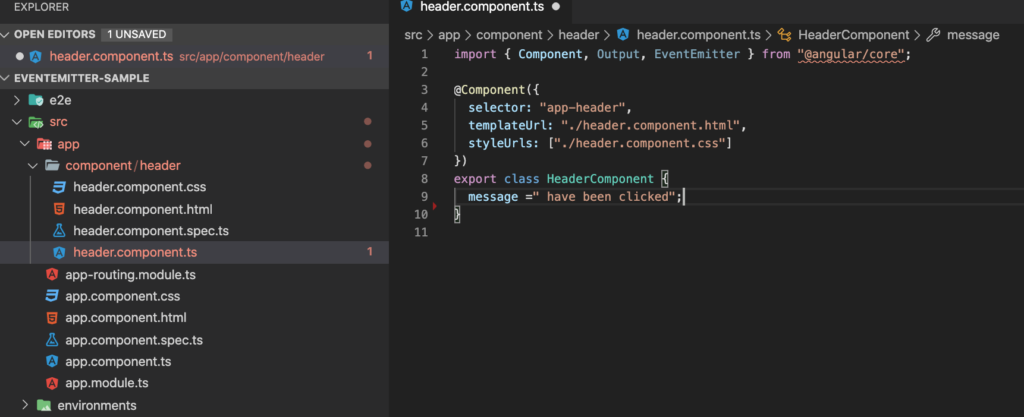
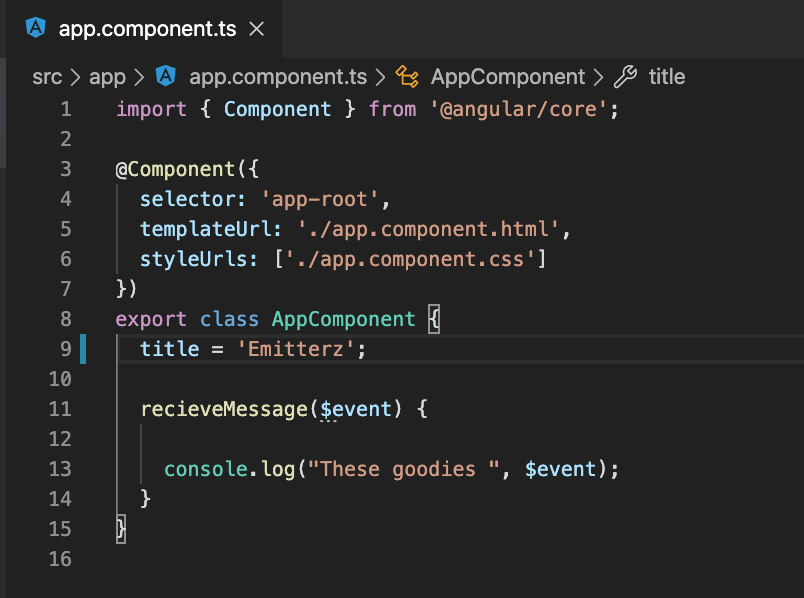
Now import Output, EventEmitter and a message to emit.
Maybe i’m going a bit slow, but it’ll pick up quickly i promise.
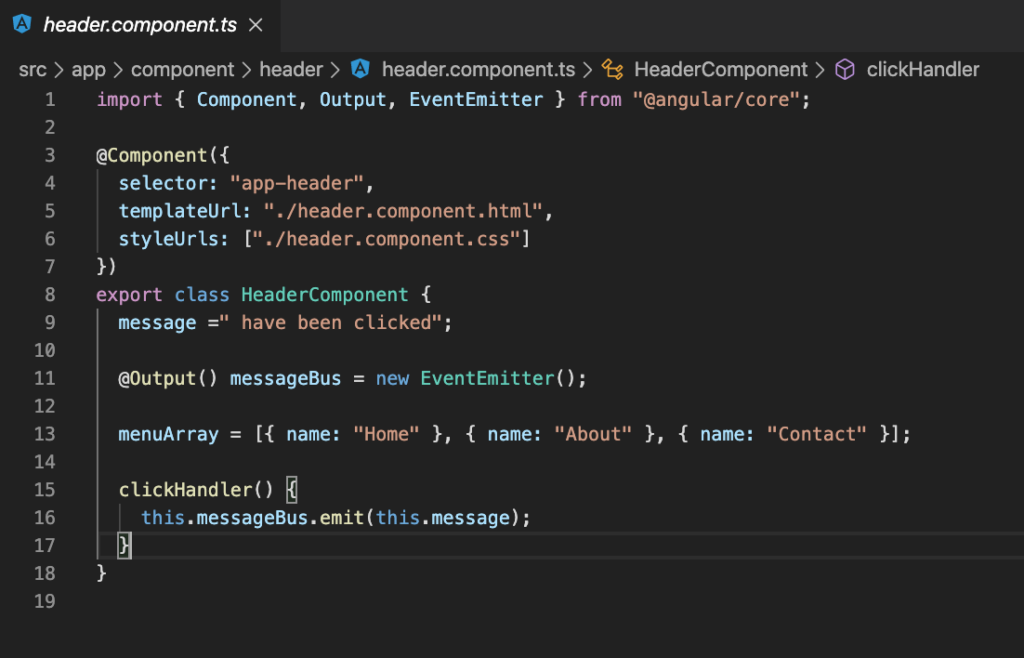
Now we can use those imports with making a new EventEmitter variable. This is very exciting and for the sake of speed you also added a function that emits the message…Oh also forgot an array of menu options.
Sweet, so we have made an emitterable variable called ‘messageBus’ which will “carry” the message string and emit it world wide.(within the boundaries of your angular project)
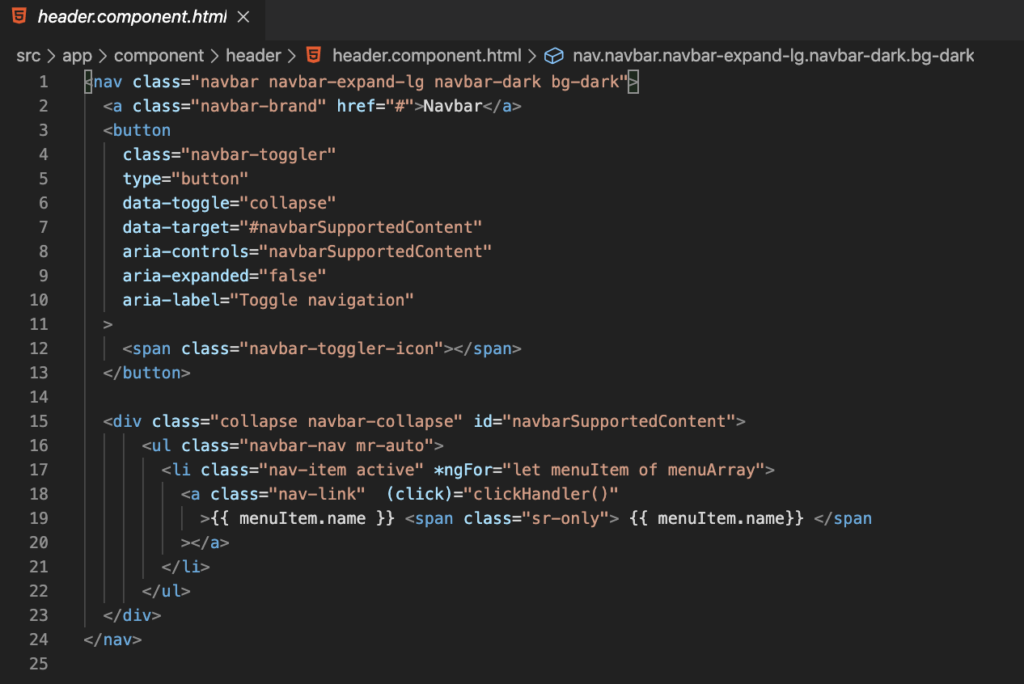
So we head on over to our Header view(html) and add the clickHandler function.
So thats officially in our header component…the parent component still doesn’t know anything about it just yet. There is one more step… ok there isn’t but we are close.
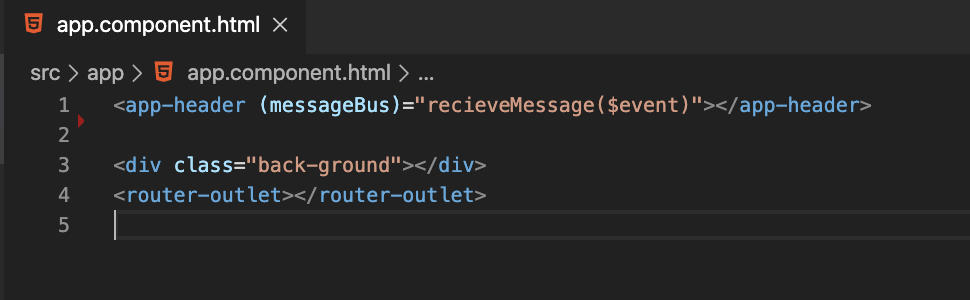
So how to we make it available? well you put it over here.
So we linkup that emitter variable called ‘messageBus’ to a function that can be found in our parent component.
Run that, check your console click on the nav and you’ll see the console responding with your emitted message all the way from the child component.
*solution I came across is at the bottom of the post. If you want to read about my experience then just keep on reading*.
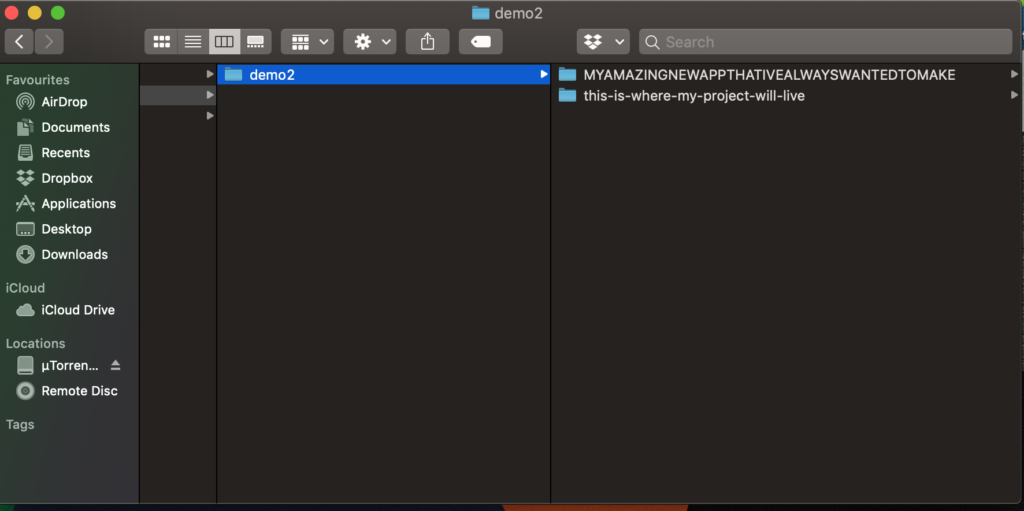
I normally come across this issue when i haven’t created a new angular project in a while. Making the directory of such project before building the project using the Angular CLI. So you have made a file called ‘this-is-where-my-project-will-live’. When you say
ng new MYAMAZINGNEWAPPTHATIVEALWAYSWANTEDTOMAKE
You will find that a new file has been generated and it’ll be looking something like this or you would need to drill down further into your file to get to the project itself.
So you think to yourself well, i might as well just cut and paste the entire project and….well forget that, here is an easier way.
To set where you want your project to be build use this little code snippet.
SOLUTION:
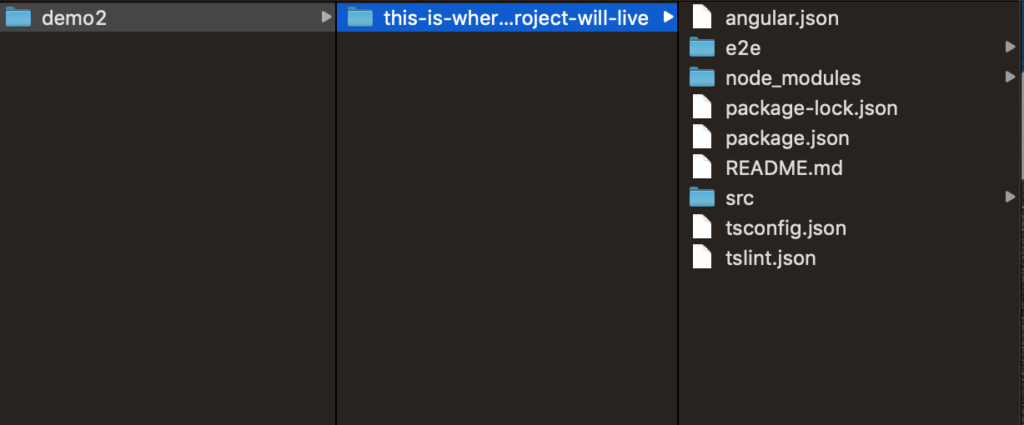
ng new MYAMAZINGNEWAPPTHATIVEALWAYSWANTEDTOMAKE --directory ./this-is-where-my-project-will-live
This will build your solution exactly into the specified directory, here is the sauce. The project will still have the same name, but will be located in folder that you have specified in the cmd.
The mobile screen adjustments took me some time, because I learned only after i finishing my css, making all my styles for desktop use only. I found out that most people will browse this link via their mobile phones and so my beta was a disaster in mobile views… but i digress.
Anthony Marques 2019
Aaaand when I was done, I was very proud of the results. I even figured lets make this public, so i shared my work of art on Reddit waiting for the likes to come rolling in.
BUT i got flagged for showing off by the mods…which they were more or less correct. I wanted to show the world what i have done, but then they insisted of the following rules:
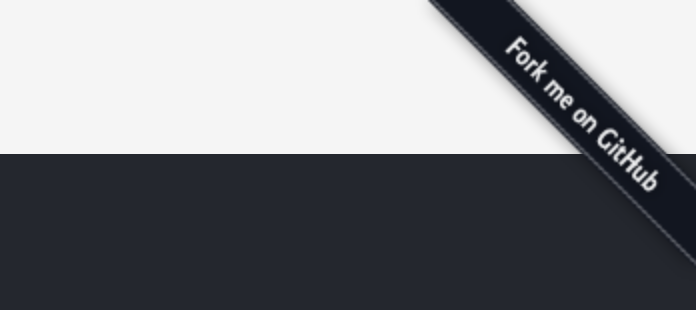
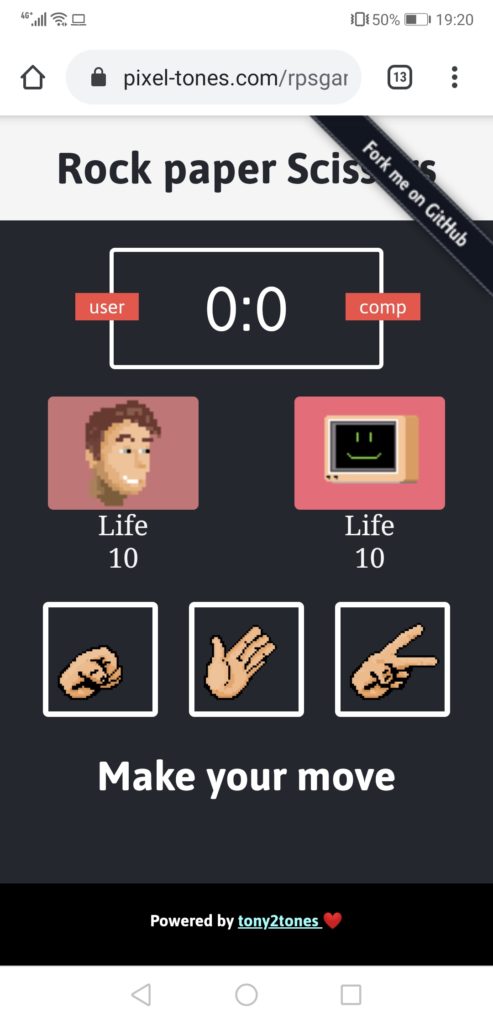
Only one thing came into mind, i need to add a fork me on github ribbon, it sounded like a sure fire way for my rps game to be accepted by the JavaScript sub. I needed to know how to do this.
Then i came across this little site. This was basically the answer to what I was looking for. I did try to find other ways of implementing it, but i needed a quick solution
<a href="">
<img style="position: absolute; top: 0; right: 0; border: 0;" src="https://s3.amazonaws.com/github/ribbons/forkme_right_darkblue_121621.png" alt="Fork me on GitHub">
</a>
Just update that href with your github site and you are good to go, enjoy forking and sharing.
Before I start, yes the image above has a table in it. I was hoping to fit everything into one blog post, but I think it may be best to breaking down into sections, so if its your first time using ngx tables this will hopefully help me and you on how to set it up more or less.
I was trying to find some sources on ngx-datatables and i only found a video podcast about people talking about how great it is from the creator with no real implementing advice. So I want to try to share my learnings from it
This video didn’t really explain how to use ngx-datatables.
I’ve got a repo on this so you can see how it works with working code, I won’t go through the setup of data (although I have added some comments…fun).
Firstly setup your project and install the ngx-datatable goodies like so.
npm i @swimlane/ngx-datatable --save
One thing I’ve learned is don’t be so afraid of official documentation their docs which can be found here are actually pretty good so don’t be shy to give it a shot and their demos are great.
Side note for the peeps that want to use bootstrap styling on their ngx-dataatable be sure to check my post on adding bootstrapto a project quick and then add this guy to your projects root styles sheet.
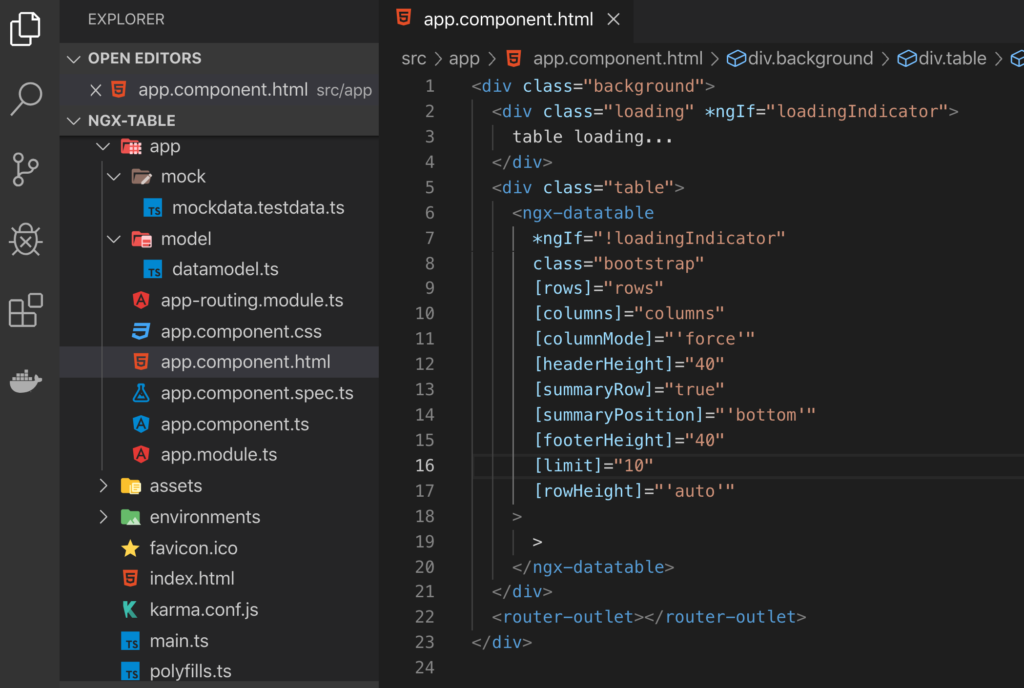
Ok , so your table comes with its basic stuff, a mock services with a data model to utilising the power of intellisense. If you open the master you’ll see in the app.component.html the following structure for the ngx-datatable.
the square bracket stuff.
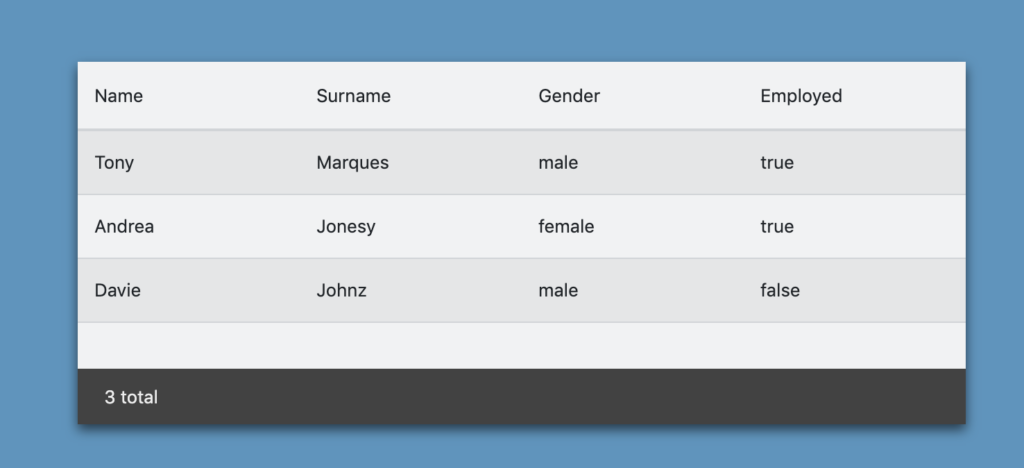
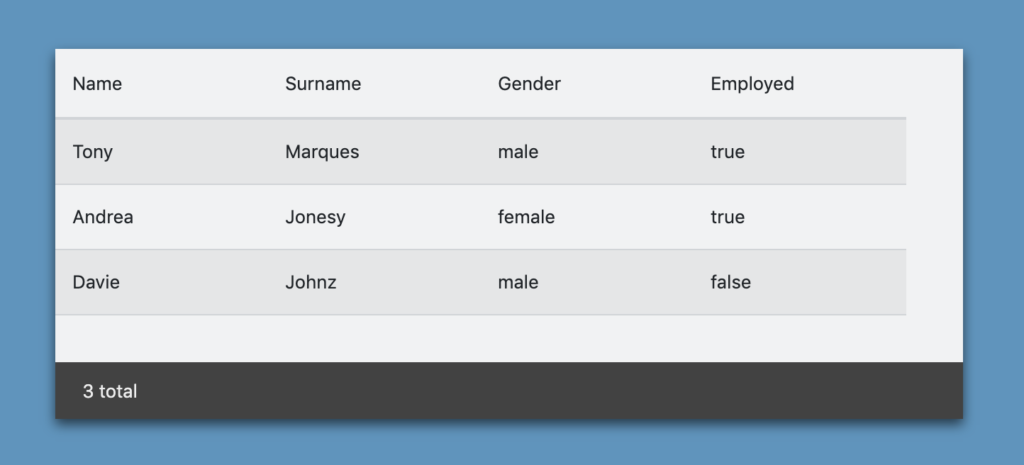
ngx-datatables are pretty fancy and quite easy to custom. from adding a total count to adjusting column length and pagination. Feel free to edit these properties and find out what they are all about. For example the [columnMode]=”‘force'” just tries to let your column stretch across the dimensions so it doesn’t look weird…cause it looks weird without it.
with column force
without…gross i know
You will also encounter a columns array with prop and column name objects.
The above code basically states the column names and props. I use the props for mapping the naming convention that i receive from the api (which i have mocked in my sample repo) so when the data comes in it knows where to go and with the name it is just the naming of the columns.
I’ve added an empty array called rows and as you can see in my ngOninIt() function i’m setting the data to the said rows array. then WHAM you have yourself a table showing lovely data. Next up will be conditional rendering… very excited to share it….and you can reduce the load time delay if you like. The loader credit goes to here.
Such a long time since i’ve made a post I know I know.
So my learning on React has slowed down a bit. This is due to the fact that I have to get to my head wrapped around Angular now. Exciting times as always shifting and changing.
I’ve been coming across a problemo when starting a new project there is no bootstrap and I’ll be honest here, i keep forgetting how to add it. So here is a lil step by step on how to add Bootstrap stylings to your new Angular project.
I am assuming that you have already done the whole
ng new CREATESOMENEWANGULARAPPTH....
This is not quite the name of the project i made, but still lets continue on how to fast track some bootstrap styles shall we.
first you need to install it as a dependency via your console with npm, just pot this little sucker in.
npm install ngx-bootstrap bootstrap --save
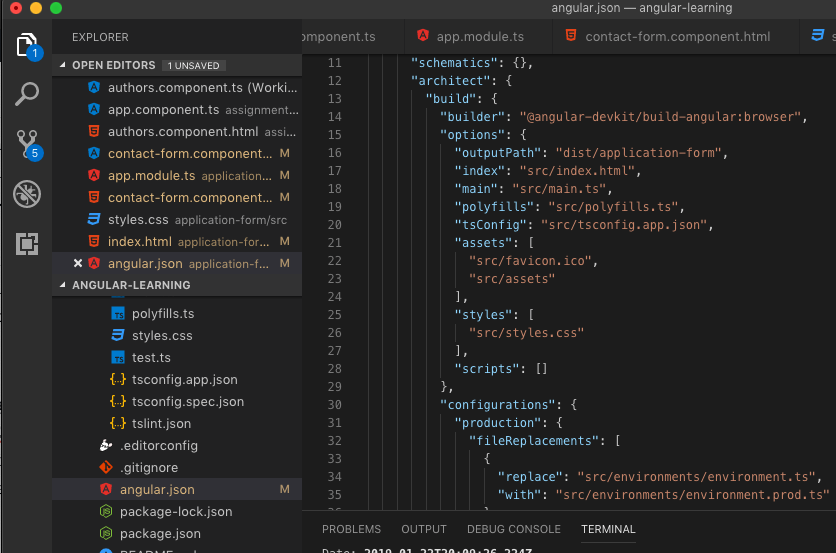
Just watch that puppy install itself and now we get on to the next step. So if you have a look into your angular.json file you’ll see that it does reference some stylings to your styles.css file that is auto generated when making the project as seen in the image below:
This is a good start, now all ya gotta do is add an import in that “styles.css” file here pot this in
/* add this to your styles.css file found in your project src
@import "~bootstrap/dist/css/bootstrap.css";
Now stop the console and redo the whole “ng serve” move and that should sort you right out. Hope this helps you cause now i don’t need to re-remember how i pulled this off.
happy bootstrapping with your angulars
POST EDIT: If you want the modules for the @ng-bootstrap/ng-bootstrap, use the following command to install this package, Loads of functionality that is bootstrap related