Merry Xmas and there isn’t a TLDR on this post but there is an angular 10 git project repo below! stay safe wear a mask properly and take care of yourselves.
I assure you that this is easier than you think it is. Firstly you’ll need to add the active rout class to your css or scss,
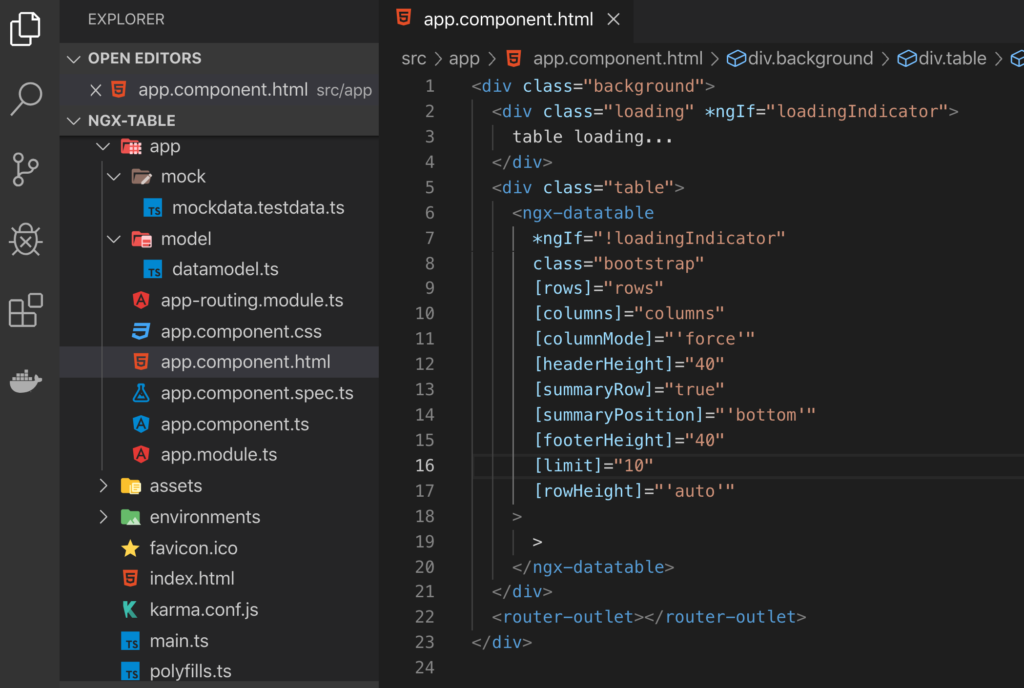
Side Note I would love some feedback on if my image snippets are helpful or readable.
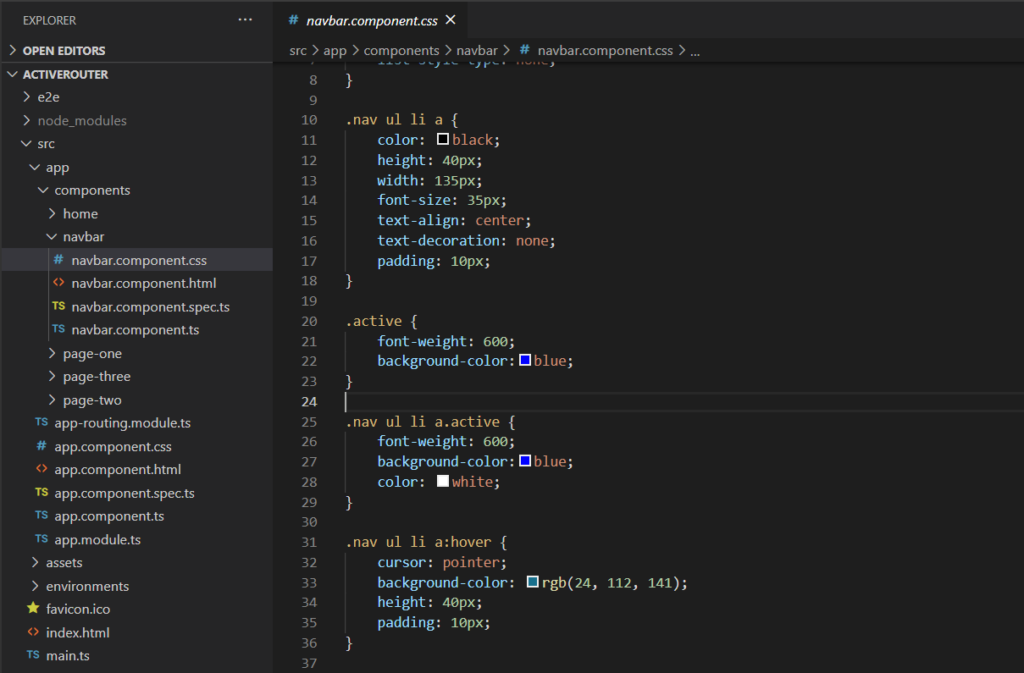
You want to place some code in your style sheets for the active state style.
.nav ul li a.active {
font-weight: 600;
background-color:blue;
color: white;
}
// or just simply
.active {
font-weight: 600;
color: white;
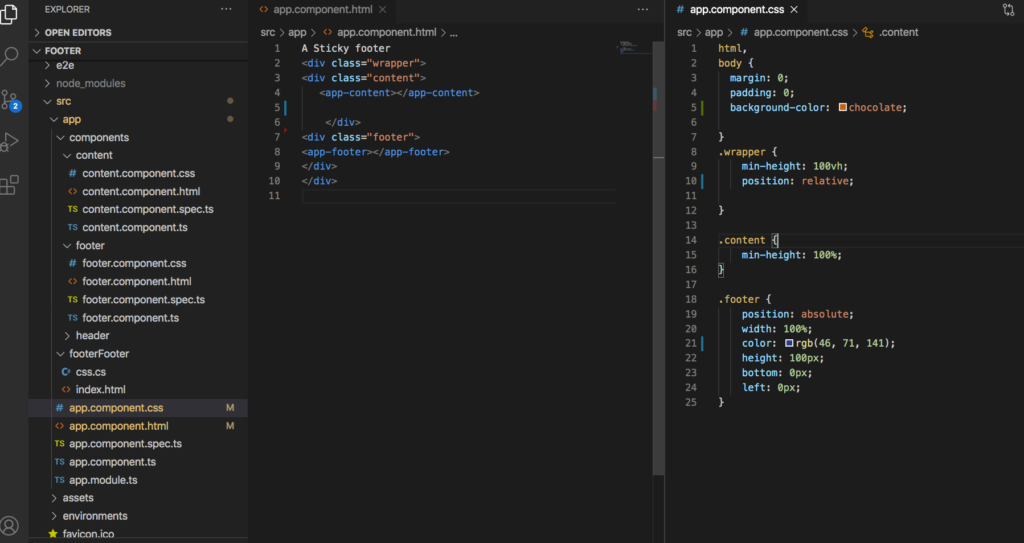
}You want to import this active router functionality into this project so go to your project modules. This snippet is in the context of my project by the way so just note the RouterModule.
import { BrowserModule } from '@angular/platform-browser';
import { NgModule } from '@angular/core';

import { AppRoutingModule } from './app-routing.module';
import { AppComponent } from './app.component';
import { HomeComponent } from './components/home/home.component';
import { PageOneComponent } from './components/page-one/page-one.component';
import { PageTwoComponent } from './components/page-two/page-two.component';
import { PageThreeComponent } from './components/page-three/page-three.component';
import { RouterModule, Routes } from '@angular/router';
import { NavbarComponent } from './components/navbar/navbar.component';

const routes: Routes = [
  { path: 'home', component: HomeComponent },
  { path: 'page-one', component: PageOneComponent },
  { path: 'page-two', component: PageTwoComponent },
  { path: 'page-three', component: PageThreeComponent },
  { path: '**', component: HomeComponent }

]; // sets up routes constant where you define your routes


@NgModule({
  declarations: [
    AppComponent,
    HomeComponent,
    PageOneComponent,
    PageTwoComponent,
    PageThreeComponent,
    NavbarComponent
  ],
  imports: [
    BrowserModule,
    AppRoutingModule,
    RouterModule.forRoot(routes)
  ],
  exports: [RouterModule],
  providers: [],
  bootstrap: [AppComponent]
})
export class AppModule { }
Note the export and imports above, be sure to place it in the correct style sheet. From there active your navigation styles tags like so.
<nav class="nav">
    <ul>
      <li><a routerLink="/home" routerLinkActive="active">home </a></li>
      <li><a routerLink="/page-one" [routerLinkActive]="['active']">page-one</a></li>
      <li><a routerLink="/page-two" [routerLinkActive]="['active']">page-two</a></li>
      <li><a routerLink="/page-three" [routerLinkActive]="['active']">page-three</a></li>
    </ul>
  </nav>
Npm install and make sure nothing is missing and you should be well on your way with the active styles triggering per active link match. For a working example checkout my github project.
For a deeper implementation referencing parents and ancestors please be sure to take a look at the following post.